What steps should I take before repainting exterior siding
Repainting exterior siding is one of the most effective ways to refresh a home in the USA. It can make an older house look new again, protect the siding from weather damage, and increase the overall value of the property. Many homeowners choose to repaint because it is cheaper than replacing siding but still gives a strong visual upgrade. However, repainting is not as simple as just picking up a brush. There are important steps to take before the painting begins, and each step helps ensure that the final result lasts for many years.
Homes in the United States face different climates—from humid coastal regions to hot desert areas and freezing northern winters. This means siding surfaces experience moisture, heat, sunlight, dust, and seasonal changes. Preparing the siding properly helps the paint stick better and prevents peeling, cracking, and fading.
Homeowners often rush into painting and later regret skipping preparation. Proper cleaning, repairs, inspections, and planning are essential. Whether the house has wood, vinyl, fiber cement, or metal siding, the preparation steps protect the material and ensure the paint performs well.
This guide explains every step clearly so that anyone—whether doing the project alone or hiring a professional—can understand what is needed before repainting exterior siding. The goal is to help homeowners feel confident, avoid costly mistakes, and get long-lasting, beautiful results. The following sections walk through simple but important steps that make the painting process smoother, stronger, and more successful.
What steps should I take before repainting exterior siding
Preparing exterior siding before painting is one of the most important phases of any home improvement project. Proper preparation makes the paint last longer, stops moisture problems, and helps the siding stay strong. Here are the key steps homeowners in the USA should take before starting.
1. Inspect the siding for damage
Before painting, a full inspection of the siding is necessary. Walk around the entire house and look carefully at every panel, corner, and joint. Pay close attention to areas near the roofline, windows, doors, and foundation. These spots often show the earliest signs of problems.
Look for cracks, holes, warping, loose boards, and signs of rot. If the home has wooden siding, check for soft areas that might indicate moisture damage. Press gently with your fingertips; if the wood sinks in, it needs repair.
For vinyl siding, look for warped or buckled pieces that may have been damaged by heat or improper installation. Fiber cement siding may show cracks or chips that need patching.
If you see peeling or bubbling paint, that is a sign that moisture may be trapped underneath. This must be addressed before painting; otherwise, the new paint will fail too.
Also check joints where siding panels meet. Gaps can let water enter and cause rot. Even small issues should be repaired before the painting process begins.
A thorough inspection helps you plan your repairs and ensures that the new paint goes onto a healthy surface. Strong siding leads to stronger paint results.
2. Wash the siding thoroughly
Cleaning the siding is one of the most important preparation steps. Dirt, dust, pollen, mildew, and old paint residue can stop new paint from sticking to the surface.
Start by rinsing the siding using a garden hose to remove loose dirt. For deeper cleaning, mix mild soap with water and scrub using a soft-bristle brush. This method is gentle and works well for all siding types.
In areas affected by mold or mildew, a cleaning solution with diluted bleach may be necessary. Follow safety instructions carefully and protect nearby plants.
Some homeowners use a pressure washer, but you must be cautious. Too much pressure can damage wood, dent metal siding, or force water behind the panels. If using a pressure washer, set it to low pressure and keep the nozzle at a safe distance.
After cleaning, allow the siding to dry fully. This may take several hours or an entire day depending on weather conditions.
Painting over wet or dirty siding causes peeling, uneven coverage, and short paint life. Proper washing ensures a clean and solid surface that supports long-lasting paint.
3. Remove loose or peeling paint
Old, loose, or peeling paint must be removed before applying new paint. If it stays on the surface, the new paint will not bond and will peel off quickly.
Use a paint scraper to gently lift loose edges. For stubborn paint, a wire brush can help. Work slowly and carefully to avoid damaging the siding itself.
For homes with many layers of old paint, sanding may be required. Sandpaper helps smooth out rough areas and blends edges so the surface is even.
If the home was built before 1978, there is a chance the old paint contains lead. In such cases, follow lead-safe practices, use proper safety gear, or hire a certified lead removal professional.
After scraping and sanding, clean the area again to remove dust. Surface dust can interfere with primer and paint adhesion.
Taking the time to remove loose paint creates a smoother finish and ensures the new paint stays secure for years.
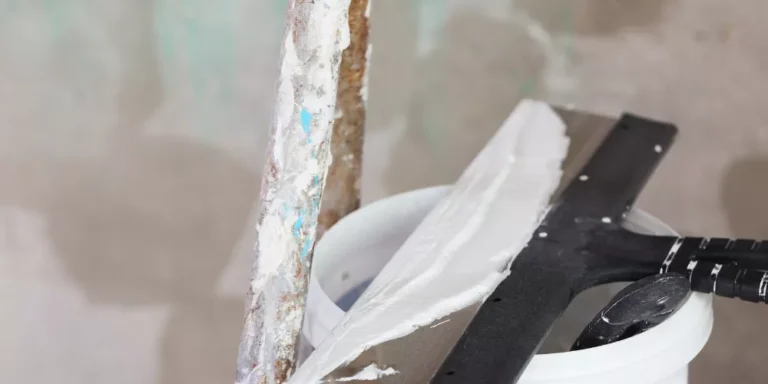
4. Repair damaged areas
After inspection and cleaning, repair any damaged siding. Small cracks or holes in wood siding can be filled with exterior wood filler. Press the filler into the gap, smooth it out, and allow it to dry before sanding.
For larger damaged wood panels, replacement may be necessary. Leaving rotted wood untouched will cause long-term structural problems and ruin the paint job.
Fiber cement siding repairs may require a patching compound designed for cement surfaces. Vinyl siding damage usually means replacing the affected panels.
Check for damaged trim near windows and doors as well. Repairing these areas helps prevent water from entering the home.
Make sure all repairs are fully dry before moving forward. Painting over wet repair material leads to uneven textures and weak adhesion.
Proper repairs give your home a solid foundation for painting and protect it from future issues.
5. Re-caulk gaps and seal openings
Caulking helps keep moisture and air out of your home. Over time, caulk around windows, doors, seams, and trim can crack or shrink. Before repainting, remove old, loose caulk using a scraper or utility knife.
Apply a fresh bead of high-quality exterior caulk into the gaps. Smooth it with your finger or a caulking tool so it seals properly.
This step is especially important for wooden siding, which can absorb moisture easily. Sealing gaps keeps water from getting behind the panels and prevents rot.
Caulking also improves energy efficiency. It stops drafts and helps maintain indoor temperature.
Make sure the new caulk dries completely before priming or painting.
A well-sealed exterior creates a clean, neat finish and supports longer-lasting paint.
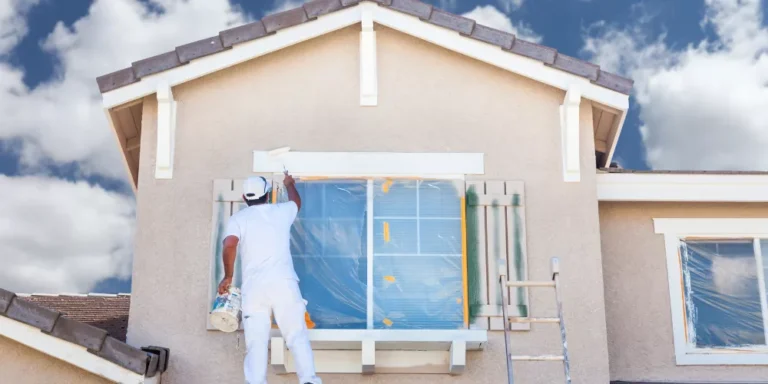
6. Protect surrounding areas and landscaping
Before painting, protect your property from accidental paint splatters. Cover bushes, flowers, and shrubs with lightweight drop cloths or breathable plant covers. Avoid using plastic wraps tightly on plants because they can overheat or get damaged.
Move outdoor furniture, grills, and decorations away from the house.
Cover windows, doors, and light fixtures using painter’s tape and plastic sheeting. This makes cleanup easier and prevents unwanted paint marks.
Use drop cloths along the ground near the walls being painted.
Protecting your surroundings not only keeps everything clean but also allows you to work without worrying about accidental drips or overspray.
Taking time to prepare the space helps make the painting experience smoother and more efficient.
7. Sand the surface for better adhesion
Sanding helps create a smooth and even surface for the new paint to bond with. It also removes minor imperfections left behind after scraping or repairs.
Use medium-grit sandpaper to smooth rough spots, then switch to a finer grit for a more polished finish.
Wood siding especially benefits from sanding because it opens the wood grain and allows the primer to grip better.
Be gentle with vinyl or metal siding. Too much sanding can damage the surface or remove protective coatings.
Always sand in the direction of the siding pattern. Avoid circular motions, which can leave visible marks.
After sanding, wipe down the surface with a damp cloth to remove dust. A clean, even surface ensures better paint coverage and a professional-looking result.
8. Apply primer where needed
Priming is essential for a long-lasting paint job. Primer helps the paint stick, improves color uniformity, and protects the siding underneath.
Bare wood should always be primed since wood absorbs paint quickly. Primer seals the surface and prevents moisture penetration.
For areas that were patched, scraped, or sanded, spot-priming is important. These parts need extra bonding strength.
Choose a primer suitable for the siding material—wood, fiber cement, metal, or vinyl.
Primer also helps block stains, water marks, and tannin bleed in wood siding.
Allow the primer to dry fully before painting. Skipping primer can lead to peeling, uneven color, and poor coverage.
9. Check weather conditions before painting
Weather plays a huge role in exterior painting. Before starting, check the forecast for several days of dry, mild weather.
Avoid painting during rain, strong winds, or high humidity. Moisture prevents paint from drying correctly and can cause bubbling or streaks.
Paint also struggles to cure in very hot or very cold temperatures. Most exterior paints work best between 50°F and 85°F (10°C–29°C).
Avoid painting in direct sunlight because the heat causes the paint to dry too fast, leading to cracks or brush marks.
The best time to paint in many U.S. regions is spring or fall when temperatures are moderate.
Proper weather planning ensures smooth application and helps the paint last longer.
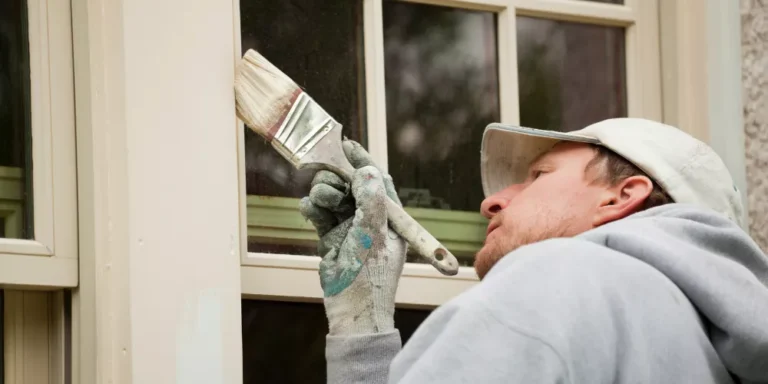
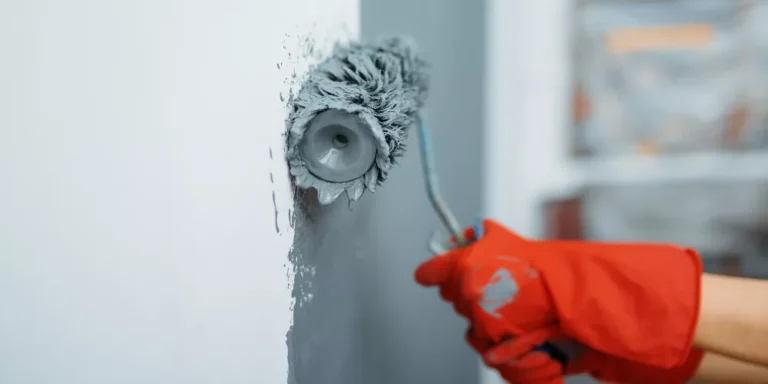
10. Plan your painting strategy
Planning your painting strategy helps save time and prevents mistakes. First decide whether you will use brushes, rollers, or a sprayer. Each tool has benefits. Brushes allow detailed control, rollers cover large areas quickly, and sprayers provide smooth coverage but require skill.
Start painting from the top and work downward. This helps avoid drips landing on freshly painted areas.
Plan which sections to paint first—shaded areas are easier to work with.
Have all your tools ready: brushes, extension poles, drop cloths, ladders, and safety equipment.
If you’re hiring a professional, discuss their plan fully. Ask how many coats they will apply, how they handle edges, and what their drying schedule is.
Good planning results in a cleaner, more efficient, and more successful paint job.
Conclusion
Repainting exterior siding is one of the most rewarding home improvement projects for American homeowners. It refreshes the home’s appearance, protects the siding, and increases value. But the success of the job depends largely on the preparation steps done beforehand. Proper cleaning, repairs, sanding, priming, and planning make the paint last longer and look smoother.
Every step in this guide is designed to prevent common issues like peeling, cracking, and moisture damage. By taking time to inspect, repair, and protect the surfaces, you set a strong foundation for a long-lasting finish.
Homeowners who follow these preparation steps save money in the long run and avoid frustration. The project becomes easier, cleaner, and more predictable. Whether you choose to paint yourself or hire professionals, understanding the process helps you make smart decisions.
Preparation is the true key to a beautiful exterior. A well-prepared home stands stronger against the American climate—sun, rain, snow, and wind.
With the right steps, your siding will hold its color, stay protected, and enhance the beauty of your home for years to come.